The purpose of this article is to describe few steps needed if you are using a remote machine for hApp development and execution but doing the coding and testing from your local machine.
IF you found this article because…
- You are running a hApp on a Vagrant managed NixOS VM on top of Windows
- AND you are trying to access the hApp web interface on a browser on Windows
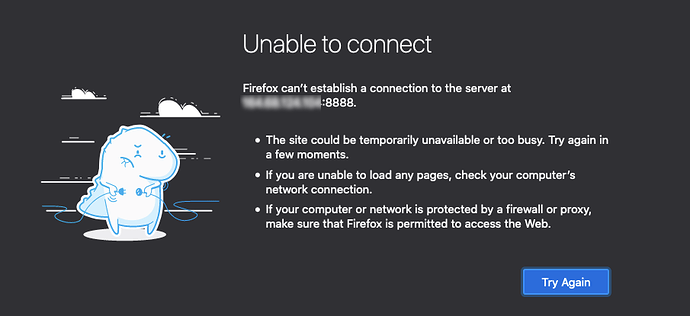
- AND you are getting an unable to connect error
THEN check this article first. Below I describe a solution to similar error but on a different use case.
At the time of this article, my local setup is a MacBook Pro 13" 2017 running macOS Catalina 10.15.2, and my browser of choice is Firefox 72.0.2. My remote setup is a Ubuntu 18.04.3 VPS at Contabo.
While playing with blockchain development (e.g. Tezos), I needed an always on node for testing (in sync with Alphanet/Babylonnet). With regards to Holochain development, macOS Catalina introduced changes that broke the installation of Nix. Even though there are workaround (e.g. VM or macOS), I decided to rent an affordable Linux-based VPS dedicated to such purpose.
I recently joined Holochain’s DevCamp 6 and while reading the developers documentation and practicing the core concepts tutorials I was faced with the restriction that hApp’s GUI are automatically bound to the agent’s local host interface (i.e. 127.0.0.1). I was not able to access the hApp from my local machine through the remote machine’s IP.
You are probably asking if this restriction was due to some firewall configuration, but there was no rule for that, actually the firewall was permissive.
After some investigation, it seems that the most simple and straightforward way to be able to proceed was to establish a SSH tunnel between my local and remote machines.
On macOS you can do that from the terminal or using some SSH tunneling app. There are many free and/or paid apps available, but I’m using the free version of Core Tunnel.
Before setting up the tunnel, if not done yet, generate SSH keys on both local and remote machines.
At the remote machine, the following ports are bound to 127.0.0.1:
-
8888- hApp’s front-end for Alice -
50000- hApp’s DNA websocket for Alice -
8889- hApp’s front-end for Bob -
50001- hApp’s DNA websocket for Bob
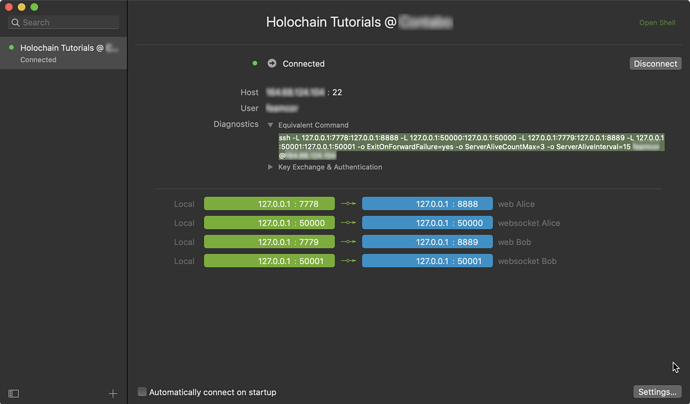
At the local machine, I configured the port-forwarding tunnel to the following ports:
-
7778- hApp’s front-end for Alice -
50000- hApp’s DNA websocket for Alice -
7779- hApp’s front-end for Bob -
50001- hApp’s DNA websocket for Bob
Forwarding remote 8888 to local 7778 and not to local 8888 or any other local port number is just a matter of personal preference. Anyway, you must ensure that you are not binding to a port that is already in use at your local machine.
To establish the tunnel using terminal, you can use the following command:
$ ssh -L 127.0.0.1:7778:127.0.0.1:8888 -L 127.0.0.1:50000:127.0.0.1:50000 -L 127.0.0.1:7779:127.0.0.1:8889 -L 127.0.0.1:50001:127.0.0.1:50001 -o ExitOnForwardFailure=yes -o ServerAliveCountMax=3 -o ServerAliveInterval=15 <remote-user>@<remote-address>
Don’t forget to replace <remote-user> and <remote-address> to the correct user and host names of your remote machine.
To establish the tunnel using Core Tunnel, you can create a tunnel like the one below:
Don’t forget to connect to your new tunnel before trying to access the front-end.
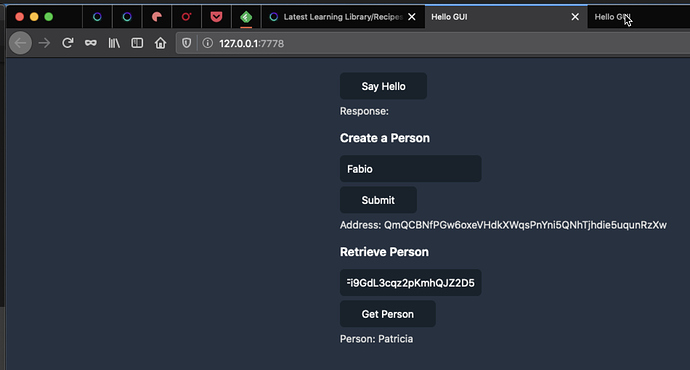
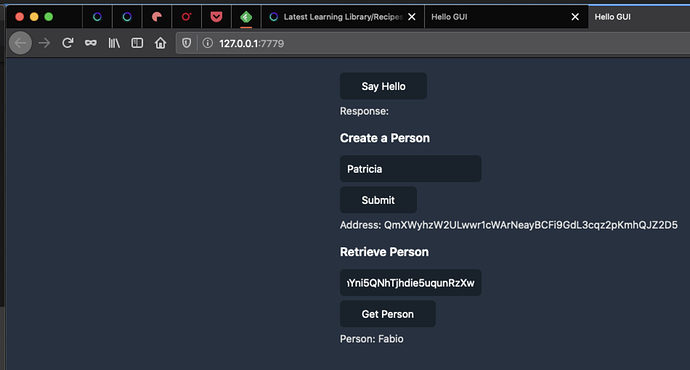
After that, when you hc run your hApp remotely, you should be able to access its front-end locally. See examples below according to the Hello World tutorial:
Alice’s front-end
Bob’s front-end
In general, that’s it … pretty simple.
On Windows, you can use PuTTY and PuTTYgen for the SSH functionality.
Please let me know of any mistakes and I will correct the article accordingly.
Best Regards.


